
The True Cost of Dryer Vent Installation
Dryer Vent Installation Cost Range
When it comes to dryer vent installation, the cost can vary greatly depending on a number of factors, such as the complexity of the job, the materials used, and the location of the property. On average, homeowners can expect to pay between $150 and $500 for a professional dryer vent installation. However, for more complex jobs or installations that require extensive ductwork, the cost can increase to $800 or more. It’s important to get a few quotes from different contractors to ensure you’re getting a fair price.
Cost by City: 10 Major US Locations
The cost of dryer vent installation can also vary by city. Here’s a breakdown of the average cost in 10 major US locations:
| City | Average Cost |
|---|---|
| New York, NY | $250 – $600 |
| Los Angeles, CA | $200 – $500 |
| Chicago, IL | $150 – $450 |
| Houston, TX | $150 – $400 |
| Phoenix, AZ | $150 – $400 |
| Philadelphia, PA | $200 – $500 |
| San Antonio, TX | $150 – $400 |
| San Diego, CA | $200 – $500 |
| Dallas, TX | $150 – $400 |
| San Jose, CA | $250 – $600 |
Keep in mind that these are just averages, and the actual cost can vary depending on the specific requirements of your job.
Material Costs for Dryer Vent Jobs
The materials used for a dryer vent installation can also impact the overall cost. Here’s a breakdown of the average cost of materials:
| Material | Average Cost |
|---|---|
| Aluminum Duct | $10 – $30 |
| Galvanized Steel Duct | $15 – $40 |
| Foil Duct Tape | $5 – $10 |
| Vent Hood | $10 – $30 |
| Dryer Vent Clamps | $5 – $10 |
These costs are for the materials only and do not include the cost of labor.
Material Quantity Based on Job Size
The size of the job can also determine the quantity of materials needed, which can impact the overall cost. Here’s a rough estimate of material quantity based on job size:
| Job Size | Material Quantity |
|---|---|
| Small | 1-2 ducts, 1 vent hood, 1-2 clamps, 1 roll of tape |
| Medium | 2-4 ducts, 1-2 vent hoods, 2-4 clamps, 1-2 rolls of tape |
| Large | 4+ ducts, 2+ vent hoods, 4+ clamps, 2+ rolls of tape |
These estimations can help you budget for the materials needed for your specific job.
Timeframe for Dryer Vent Installation
The timeframe for a dryer vent installation can also vary depending on the complexity of the job. Simple installations can take as little as 1-2 hours, while more complex jobs that require extensive ductwork can take up to 4-6 hours. It’s important to discuss the timeframe with your contractor to ensure they can complete the job in a timely manner.
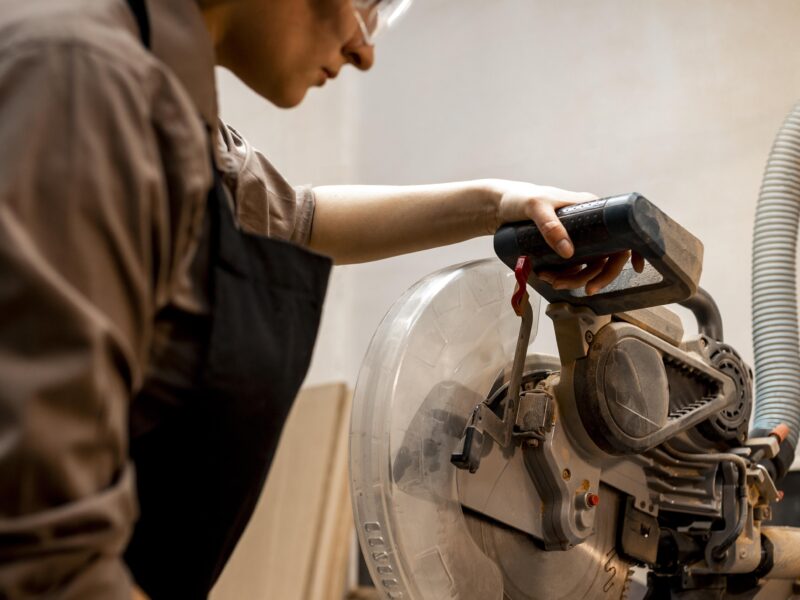
Essential Tools for Professional Installation
Professional dryer vent installation requires a few essential tools to ensure the job is done correctly. These tools include:
- Drill
- Hole saw
- Tape measure
- Level
- Screwdriver
- Tin snips
A professional contractor will have these tools on hand, but if you’re planning to tackle the job yourself, you’ll need to make sure you have these tools available.
Step-by-Step Dryer Vent Installation Guide
If you’re planning to install your dryer vent yourself, here’s a step-by-step guide to help you through the process:
- Measure and mark the location for the vent hood on the exterior of your home.
- Drill a pilot hole and use a hole saw to cut the vent opening.
- Install the vent hood and secure it with screws.
- Connect the duct to the vent hood and secure it with clamps.
- Run the duct to the dryer, securing it with clamps as needed.
- Use foil duct tape to seal any seams or connections.
It’s important to follow the manufacturer’s instructions and local building codes when installing your dryer vent. If you’re unsure about any part of the process, it’s best to hire a professional to ensure the job is done correctly and safely.
Comments